
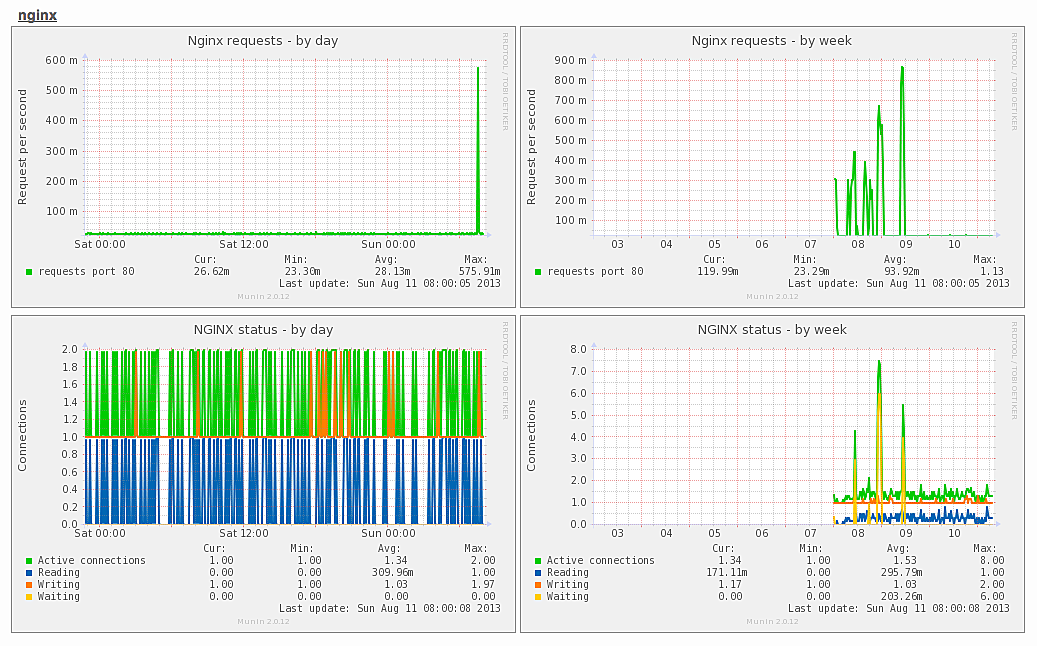
サーバのリソース監視に便利なmuninで、nginxとPHP-FPMも取得するようにしてみました。というわけで、構築まとめ。
前提
今回は、muninの監視統計データを集約して表示する監視サーバと、munin-nodeでリソース情報を集めて送信する監視されるサーバを分けて構築します。
例
- 監視サーバ : 192.168.0.10
- 監視されるサーバ : 192.168.0.11 / 192.168.0.12
munin と munin-node のインストール
監視サーバに関しては、munin と munin-node をインストール。(自身を監視しない場合はmunin-nodeいらないけど)監視されるサーバは、munin-nodeだけで大丈夫です。
yum install munin munin-node
RH系ディストリならyumでサクッとインストール可能。
munin-nodeの設定
監視されるサーバの munin-node.confに適当なホスト名と、監視サーバのIPアドレスを記述します。ホスト名は、他と被らないようになっていればOKです。
/etc/munin/munin-node.conf
host_name www1.example.com
allow ^192\.168\.0\.10$
PHP-FPMのプラグインインストール
PHP-FPMのプラグインはデフォルトでは存在しないのでインストールします。
cd /usr/share/munin/plugins
sudo git clone git://github.com/tjstein/php5-fpm-munin-plugins.git
chmod +x php5-fpm-munin-plugins/phpfpm_*
cd /etc/munin/plugins/
ln -s /usr/share/munin/plugins/php5-fpm-munin-plugins/phpfpm_average phpfpm_average
ln -s /usr/share/munin/plugins/php5-fpm-munin-plugins/phpfpm_connections phpfpm_connections
ln -s /usr/share/munin/plugins/php5-fpm-munin-plugins/phpfpm_memory phpfpm_memory
ln -s /usr/share/munin/plugins/php5-fpm-munin-plugins/phpfpm_processes phpfpm_processes
ln -s /usr/share/munin/plugins/php5-fpm-munin-plugins/phpfpm_status phpfpm_status
PHP-FPMのステータス設定
/etc/php-fpm.d/\www.conf
pm.status_path = /phpfpm_status
\www.conf に PHP-FPM のステータス情報を表示するパスを設定し、PHP-FPM自体を再起動させます。
service php-fpm restart
nginxのプラグインインストール
nginxのプラグインは標準でインストールされていると思うので、シンボリックリンクをはるだけでOKです。
cd /etc/munin/plugins/
ln -s /usr/share/munin/plugins/nginx_request nginx_request
ln -s /usr/share/munin/plugins/nginx_status nginx_status
nginxの設定
/etc/nginx/conf.d/default.conf
server {
    listen 80;
    server_name localhost;
    location /nginx_status {
        stub_status on;
        access_log off;
        allow 127.0.0.1;
        deny all;
    }
    location /phpfpm_status {
        include fastcgi_params;
        fastcgi_pass localhost:9000;
        fastcgi_param SCRIPT_FILENAME $fastcgi_script_name;
        allow 127.0.0.1;
        deny all;
    }
}
munin-nodeがnginxとPHP-FPMのリソース情報を取得できるようにバーチャルホストを設定します。自分自身しかアクセスしないので allow 127.0.0.1 としています。
正常に設定できているかどうかは、nginxを再起動後、curlで確認できます。
curl http://localhost/nginx_status
curl http://localhost/phpfpm_status
ここでエラーがなく、リソース情報が表示されればOKです。
munin-nodeの設定
/etc/munin/plugin-conf.d/munin-node
[nginx*]
env.url http://localhost/nginx_status

[phpfpm*]
env.url http://localhost/phpfpm_status
env.phpbin php-fpm
最後にmunin-nodeの監視対象にnginxとPHP-FPMを追加してあげます。正常にプラグインが稼働するかどうかはmunin-runで確認できます。
/usr/sbin/munin-run phpfpm_average
問題がある場合は、Unknown Service とかでます。プラグインの置く場所や、名前、パーミッションなど確認して下さい。
service munin-node start
chkconfig munin-node on
munin-nodeを起動+自動起動設定をして監視されるサーバ側は終了。
監視サーバの設定
まず、muninはデフォルトでは4949のポートを使って通信をするので、ファイアウォール等がある場合は、ポートを開けておきます。
/etc/munin/munin.conf
[www1.example.com]
        address 192.168.0.11
        use_node_name yes

[www2.example.com]
        address 192.168.0.12
        use_node_name yes
munin.confに監視対象のサーバを記述します。
これで後は、自動的にcronで収集が開始されますが、すぐに動作確認をしたい場合は、下記コマンドでできます。
su - munin --shell=/usr/bin/munin-cron
この時、
not a reference at /usr/share/perl5/vendor_perl/Munin/Master/Utils.pm line 950
こんなメッセージが出たら、munin-nodeに正常にアクセスが出来ていない可能性が高いです。ポートやmunin-nodeが起動しているか確認をしてみて下さい。
muninをWebページで見るための設定
/etc/nginx/conf.d/default.conf
server {
# 略...
	location /munin {
		alias /var/www/html/munin;
                auth_basic "admin only";
                auth_basic_user_file /etc/nginx/.htpasswd;
	}
}
htpasswd -c /etc/nginx/.htpasswd userid
aliasしてあげて、BASIC認証をかけてあげればひと通りOK。